Map Shares from a Windows computer
Note: The "Shares" drive is automatically mapped on UWM PCs. Look for it under drive letter S:\. These instructions only apply for non-UWM managed computers.
Please note that for these instructions to work you must either:
- Be physically on UWM campus connecting to the wired or wireless campus networks, or
- Be connected to the campus VPN service. For instructions to install & connect to the VPN see: https://kb.uwm.edu/page.php?id=70415
Instructions for Windows
-
- Right-click the Start button
- Select File Explorer

- In the new window, Select This PC from the left navigation bar
- Select the tab labeled Computer

- In the menu, select Map Network Drive

- Pick an available Drive letter, and enter the folder path \\ad.uwm.edu\shares
- Ensure both check boxes are checked.
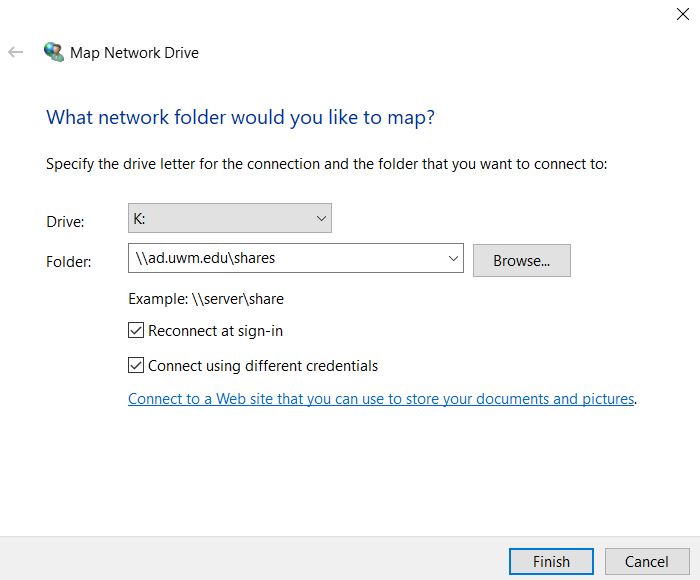
- Click Finish
- You are prompted for your username and password. Enter your username in this format:
- ad\ePantherID
- For instance, if your ePanther ID were "pounce," you would enter "ad\pounce"
- Your computer is now connected, or mapped, to the uFiles network drive.