Topics Map > Software
Topics Map > Microsoft 365 > OneNote
Office 365 (OneNote for Windows 10) - Opening and Syncing a Notebook with Office 365
Beginning with the launch of Office 2019 later this year, OneNote for Windows 10 will replace OneNote 2016 as the default OneNote experience for both Office 365 and Office 2019.
Installing OneNote for Windows 10
Opening and Syncing a Notebook in OneNote for Windows 10 for the first time
Opening and Syncing a Notebook from OneNote 2016
Difference between OneNote for Windows 10 and OneNote 2016 can be found here.
An overview of OneNote for Windows 10 can be found here.
Installing OneNote for Windows 10
- Open the Start Menu by selecting the Windows Icon in the lower left of the desktop.

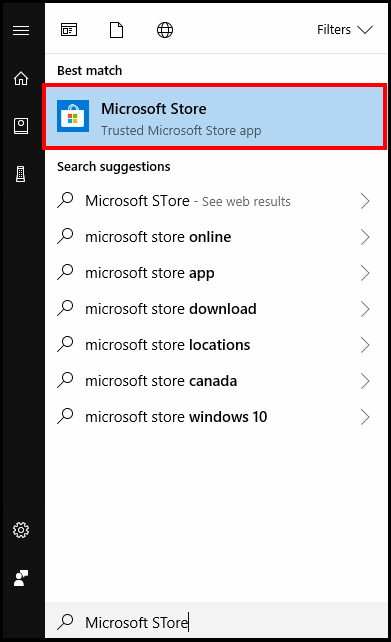
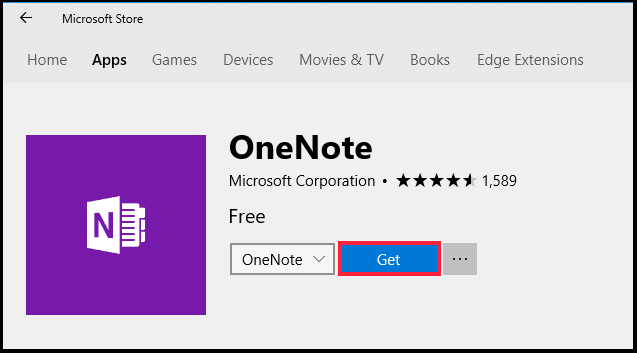
- Look for OneNote in the Microsoft Store Search Bar. There are multiple "OneNote" applications. The one that you are looking for is simply called OneNote.
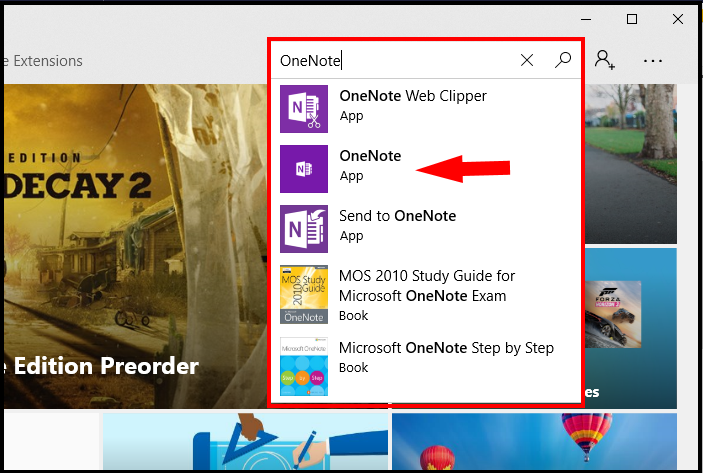
- Click on the icon, then click on OneNote.
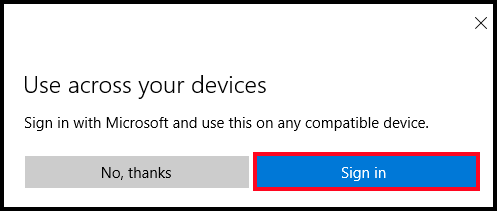
- If you are not signed into your Microsoft Account, you will be prompted to sign into one with your MS account. This can be your personal, work or school account.
Add an account and click Next.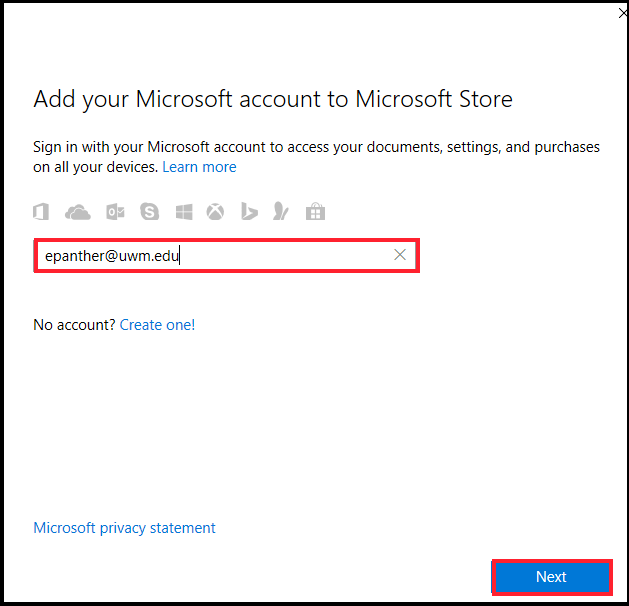
The OneNote for Windows 10 Application will now donwload.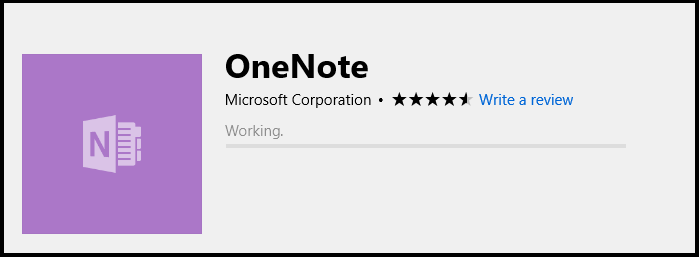
Once it is done downloading, hit the Launch button.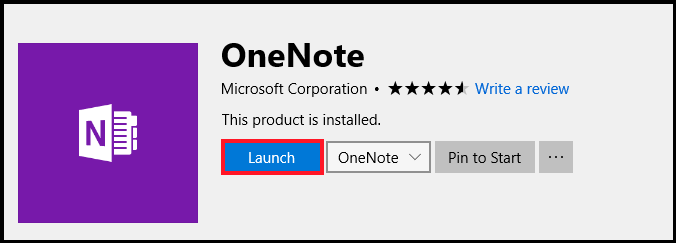
Opening and Syncing a Notebook in OneNote for Windows 10 for the first time
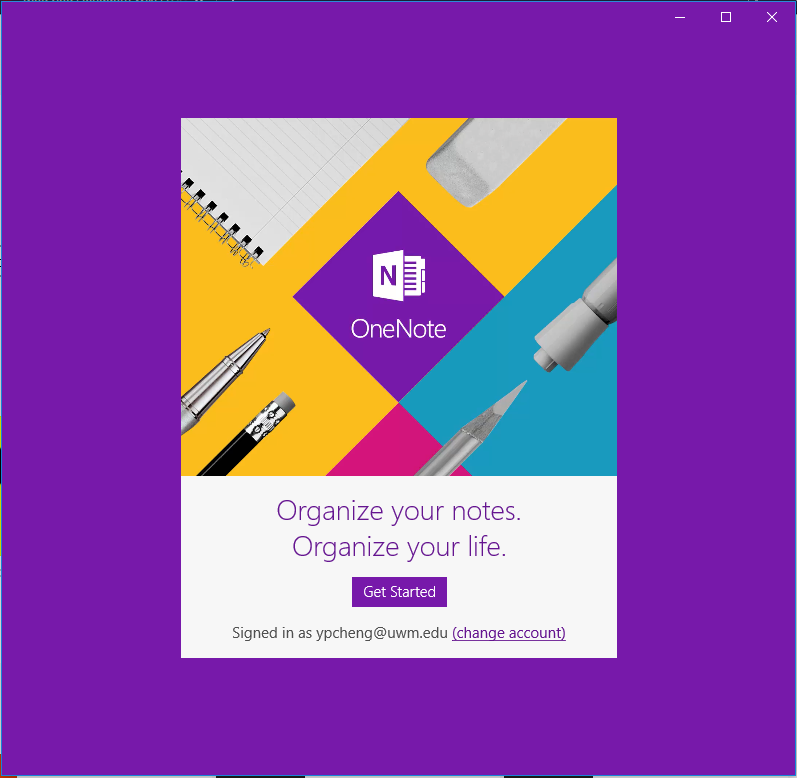
- When the application finishes downloading, Click GetStarted.
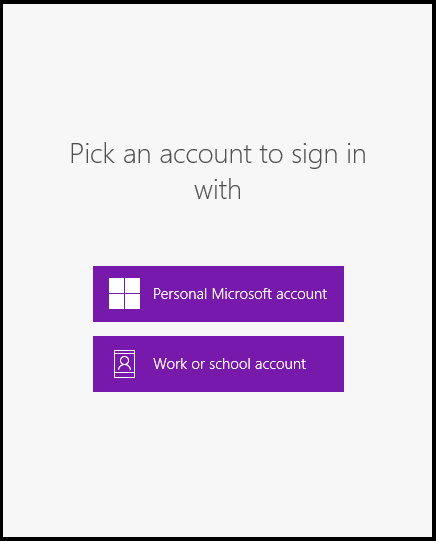
- Choose the account type that you signed in with (school, work or personal).
- Notebooks will Sync Automatically from the account that is signed in.
Opening and Syncing a Notebook from OneNote 2016
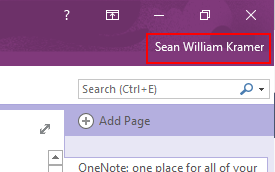
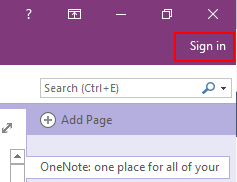
If the words Sign In are visible in the upper right of the OneNote main screen then you must log-in to OneNote, if your name appears there skip to Step 6.Signed In vs. Not Signed In
- Select File in the upper left hand corner of the screen.

- Select Account on the lower left hand side of the screen.
.png)
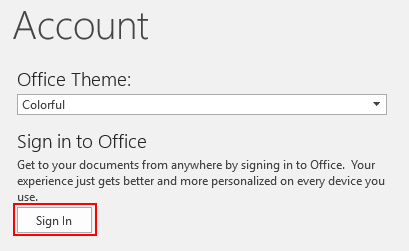
- On the page that appears, select Sign In under the Account heading.
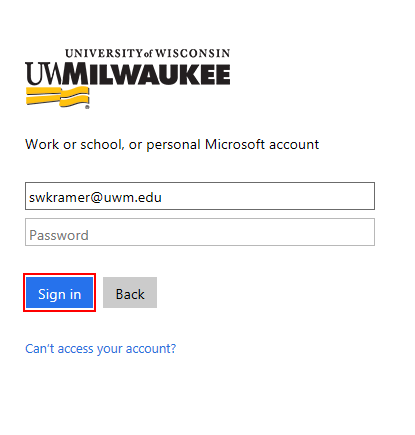
- In the initial sign in prompt enter your UWM (@uwm.edu) email address and press Enter. Then on the following sign in prompt enter your UWM (@uwm.edu) email address and password, then select Sign In.
- You are now signed into OneNote 2016, and can select the Back Arrow to return to the main page of OneNote.

- Select File in the upper left hand corner of the screen.
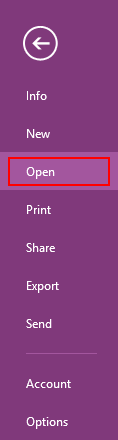
- Select Open in the middle left hand side of the screen.
- Select the Notebook you would like to access and sync to the OneNote Desktop user from the list to the right of the Recent tab.
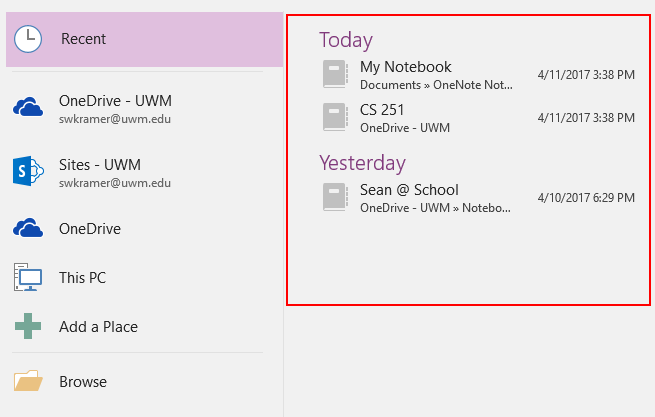
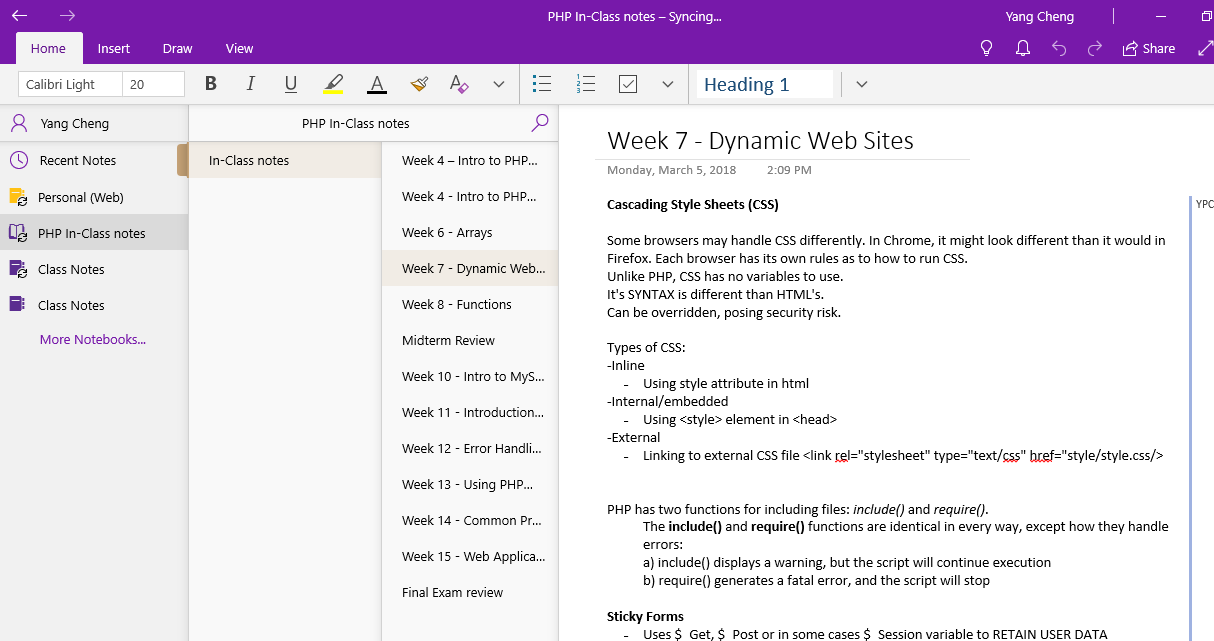
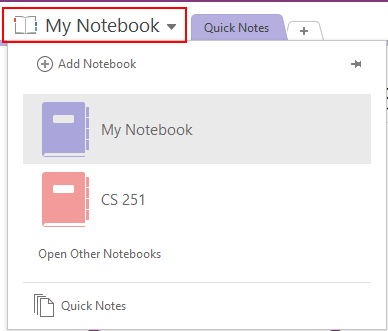
- Once you've accessed your desired Office 365 Notebook you may switch between it and your other Notebooks by selecting Your Notebook Name in the upper left hand corner of the screen.
Note: When two arrows within a green circle appear on your Notebook (as seen to the right) it indicates that the Notebook is syncing with Office 365. ![]()
Alternatively:
A force sync can be done by going to the "Info" tab and clicking on View Sync Status.

A new window will pop up and display all notebooks that are currently active. Hit the SyncAll button to sync all notebooks together.
