Topics Map > Microsoft 365 > Email
M365 Outlook for Windows (How To) Add A Shared Mailbox
-
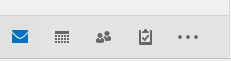
In Outlook, click Mail in the bottom-left corner of the window.
-
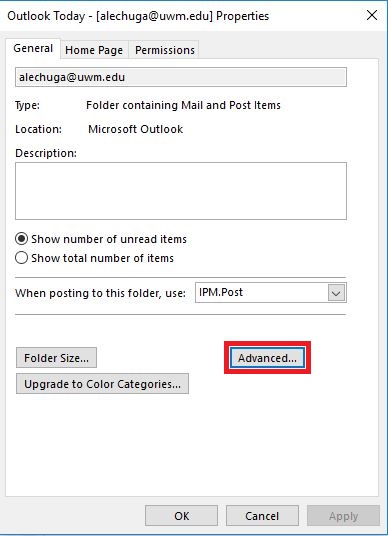
Right-click your account name (i.e., email address) in the folders pane on the left side of the window and select Data File Properties from the menu.

-
Click the Advanced button in the Properties window.
-
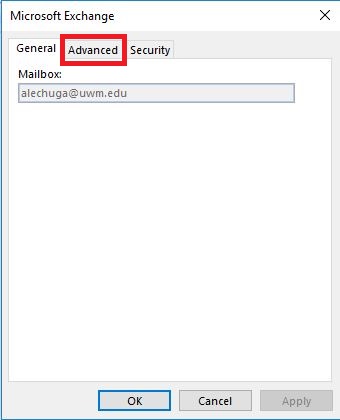
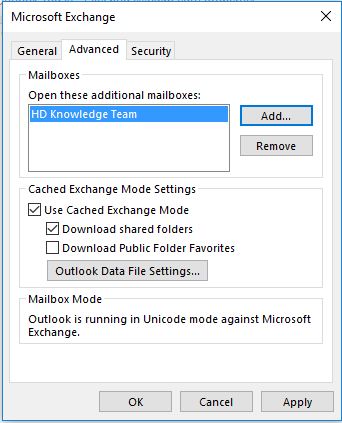
Click the Advanced tab.
-
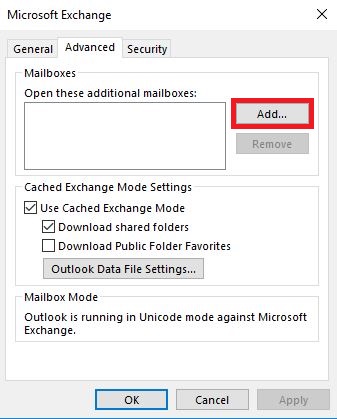
Click the Add button to specify a shared mailbox.
-
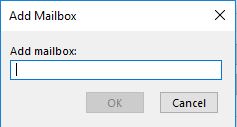
Type the email address for the group account in the Add Mailbox window and click OK.
-
The account now appears in the list of additional mailboxes. Click Apply and then click OK twice.
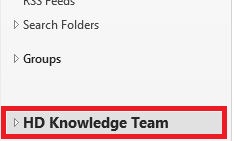
The shared mailbox now appears in your list of email folders under its own heading, allowing you to view, send, and manage emails for this group account.
If it does not appear right away, exit the Outlook App and then open it up again. This refreshes the connection to the server.
NOTE: By default, group account emails sent or replied to using Outlook will appear as though they are sent from your email address, not the group account's email address. To remedy this, you must change the From field for the message to the group account's address.
Additionally, know that any group account emails you send using Outlook will show up in your personal Sent Items folder, not the group account's Sent Items folder. There is no remedy for this other than using OWA to open your group account as a shared mailbox.