Topics Map > Microsoft 365 > Email
Topics Map > Microsoft 365 > Calendar
Microsoft 365 (Outlook on the Web) - Sharing a Calendar
Follow these steps to share a calendar with other UWM students, faculty, and staff.
Sharing Your Calendar
1. Click on the App Launcher in the upper left-hand corner and select Calendar.
2. From the Calendar app, right-click the calendar you wish to share on the left-hand side of the screen and select Sharing permissions from the menu.

3. In the pane that opens on the right side of the screen, type the names or email addresses of the person(s) you want to share this calendar with in the search box.

Note: If you've emailed this person before or he/she is one of your contacts, the name should appear as you type.
4. Next to the people you've selected, adjust their permissions levels accordingly:

Note: The full range of permissions are available only when sharing the default calendar in OotW. Sub-calendars display limited permissions. If you wish to share a sub-calendar with a wider range of permission options, you will need to use the Outlook desktop user.
5. Modify the subject of the email that will be sent to the specified users (in the "Subject:" field, if desired) and click Send in the upper-left corner of the pane.

Adding a Shared Calendar
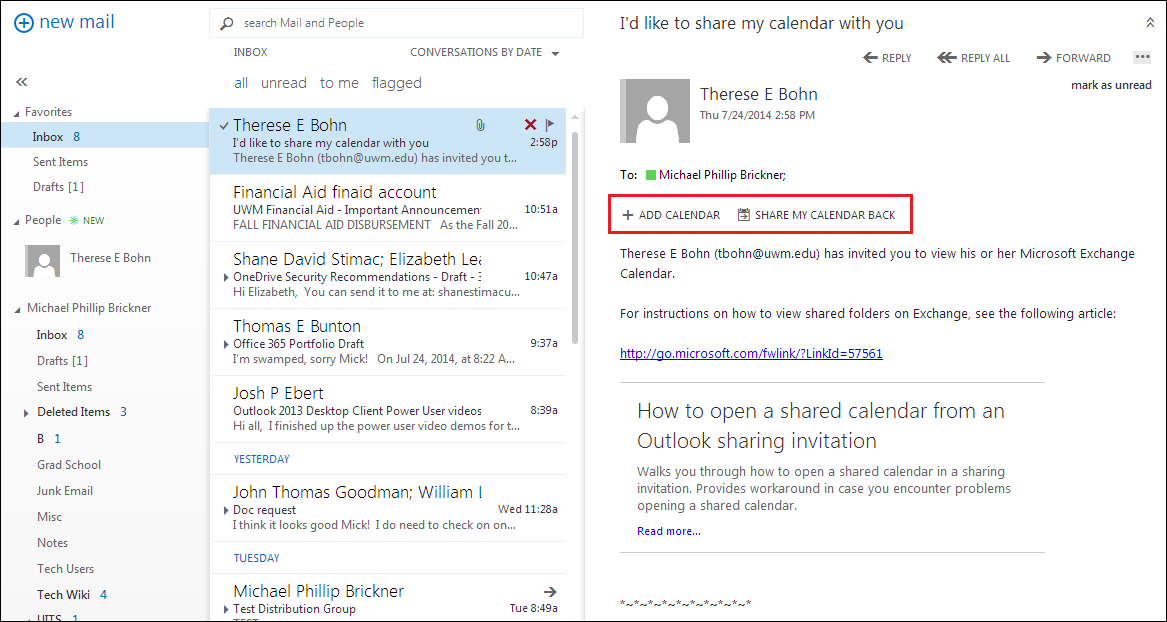
1. Locate and open the shared calendar notification in your inbox or other email folder.
2. With the email visible in the reading pane, click ADD CALENDAR. You will also be given the option to SHARE MY CALENDAR BACK.
Note: You will be taken to the Calendar app, and the shared calendar will be in your list of calendars and displayed along with all other calendars you have open.The calendar shared with you should be found in the "People's calendars" section on the left-hand side.