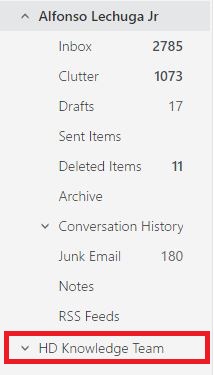
M365 Outlook Web App (How To) Sharing Email Folders
Contents
Setting Default Permissions
Before you can share email folders with other users, you must set up your account's default folder permissions. If you do not do this before sharing, the folders you share will remain inaccessible to those users.
1. From the Outlook on the web, right-click the Folders heading on the left side of the screen then select Permissions from the menu:

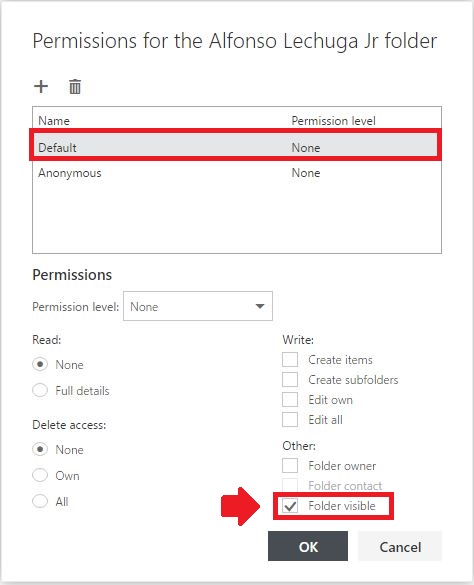
2. In the Permissions for window, select the Default name and check the Folder visible box in the Other permission level category.
3. Click OK to close the window and save your changes:
Sharing a Folder
Now that your default permissions are set up, you can go ahead and share any email folder following these steps.
1. From the Outlook app, right-click the email folder you wish to share (for example, your Inbox folder) on the left side of the screen and select Permissions from the menu:

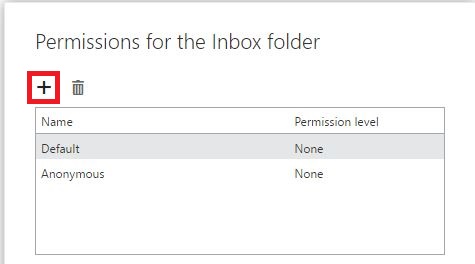
2. In the Permissions for window, click the Folder Visible box then click OK.

3. In the Permissions for window, click the + sign to add another user to the list:
4. In the Add permissions window, type the name or email address of the person you want to share this folder with and click Search Contacts & Directory (if you have emailed this person before or they are one of your contacts, the name should appear as you type).5. Select them from the list (if necessary) and click add:

6. Adjust the person's Permission level accordingly or manually configure their read, write, delete, and other access:
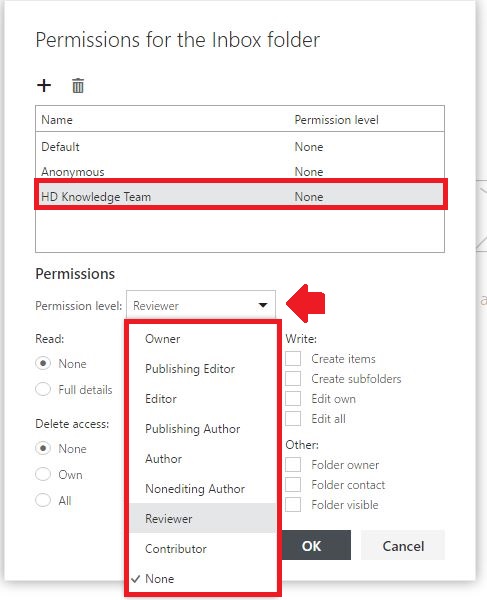
|
Permission Level |
Description |
|---|---|
|
Owner |
Full rights to the folder, including assigning permissions to others |
|
Publishing Editor |
Create, read, edit, and delete all items, and create subfolders |
|
Editor |
Create, read, edit, and delete all items, and create subfolders |
|
Publishing Author |
Create and read items and subfolders, and edit and delete created items |
|
Author |
Create and read items, and edit and delete items you create |
|
Non-editing Author |
Create and read items, and delete items you create |
|
Reviewer |
Read items only |
|
Contributor |
Create items only (folder contents are not visible) |
|
None |
No permissions (you cannot open the folder) |
6. Click OK to save the changes.
7. Send the person you just shared the folder with an email message to let them know they now have access.
- If you need to unshare an email folder with someone, select their name from the list of permissions, click the trash can, and click OK.
- If you need to edit someone's permissions, select their name from the list, change their permissions accordingly, and click OK.
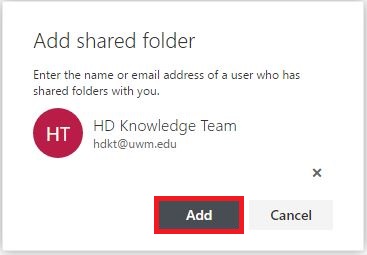
Adding a Shared Folder
When someone shares a folder with you, you must manually add it to your list of email folders. There are no automatic notifications when someone shares a folder, so it is incumbent upon the sharer to let the recipient know about it. Follow these steps to add a folder that's been shared with you.
1. From the Outlook app, right-click your folders tab then select Add shared folder from the menu:

2. In the Add shared folder window, type the name or email address of the person who shared the folder with you and click Search Contacts & Directory (if you've emailed this person before or they are one of your contacts, the name should appear as you type).
3. Select them from the list (if necessary) and click Add:
4. Click the person's name that now appears in the list of email folders on the left side of the screen and any folders they've shared with you will display. Select a folder to display its contents: