Topics Map > Microsoft 365 > Email
Topics Map > Microsoft 365 > Calendar
M365 Outlook Web Apps (How To) Filter Meeting Invites as a Delegate
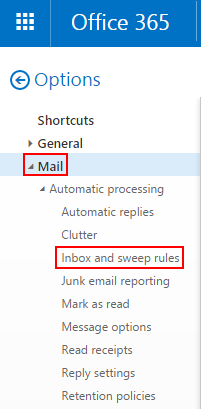
- From the Outlook app, select the Gear Icon in the upper-right corner of the screen and select Mail from the menu.

-
Click Inbox and Sweep Rules in the options pane on the left side of the screen, under Mail.
-
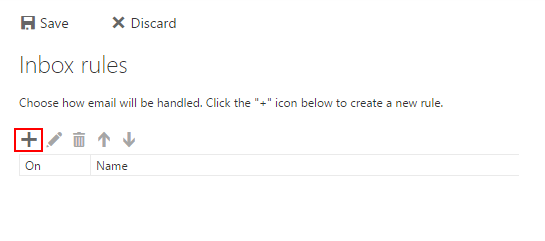
Click the Add button ( + ) to create a new rule.
-
A new dialogue box will appear for creating a new inbox rule.

-
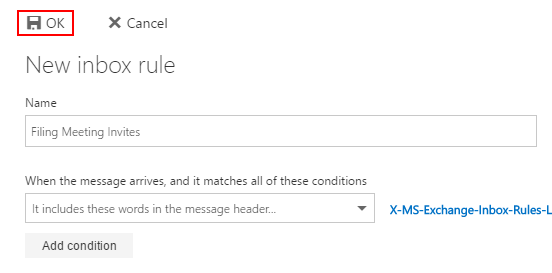
Provide a name for this new rule (choose something descriptive that will help you identify the rule in the future).

-
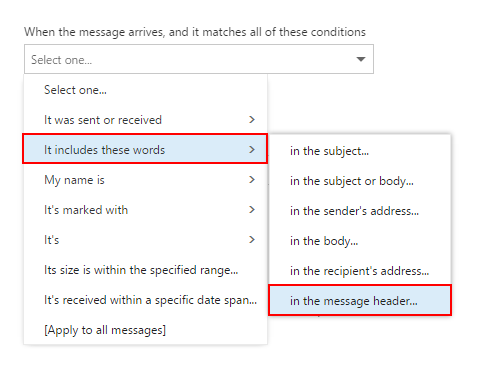
Activate the When the message arrives... drop-down menu, hover over It includes these words, and select in the message header... .
-
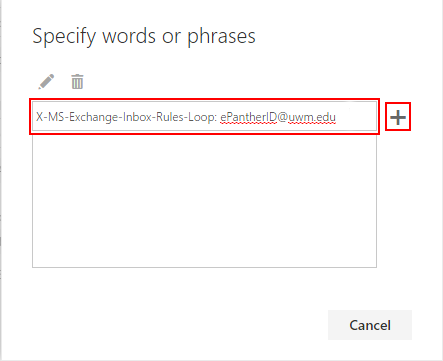
Type: X-MS-Exchange-Inbox-Rules-Loop: ePantherID@uwm.edu in the textbox (where ePantherID@uwm.edu is the UWM email address of the person whose calendar you are managing) and click the Add button ( + ).
-
Then, click OK.
-
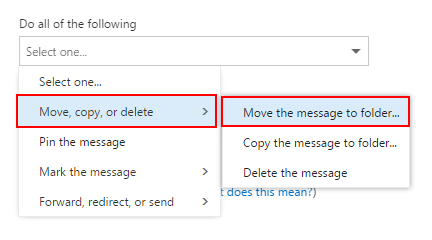
Click the Do all of the following drop-down menu, hover over Move, copy, or delete, and select Move the message to folder...
-
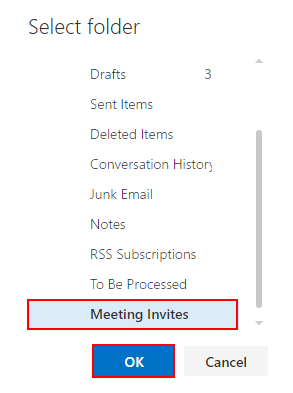
Select the folder you would like others' meeting invites automatically moved to.
-
Then, click OK.
-
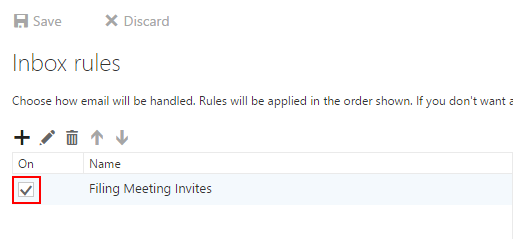
Click the Save button to create the new rule.
-
With the new rule now appearing in your list of inbox rules, uncheck the box in front of a rule when you need to disable it and move multiple rules up or down to specify the order in which they run.